


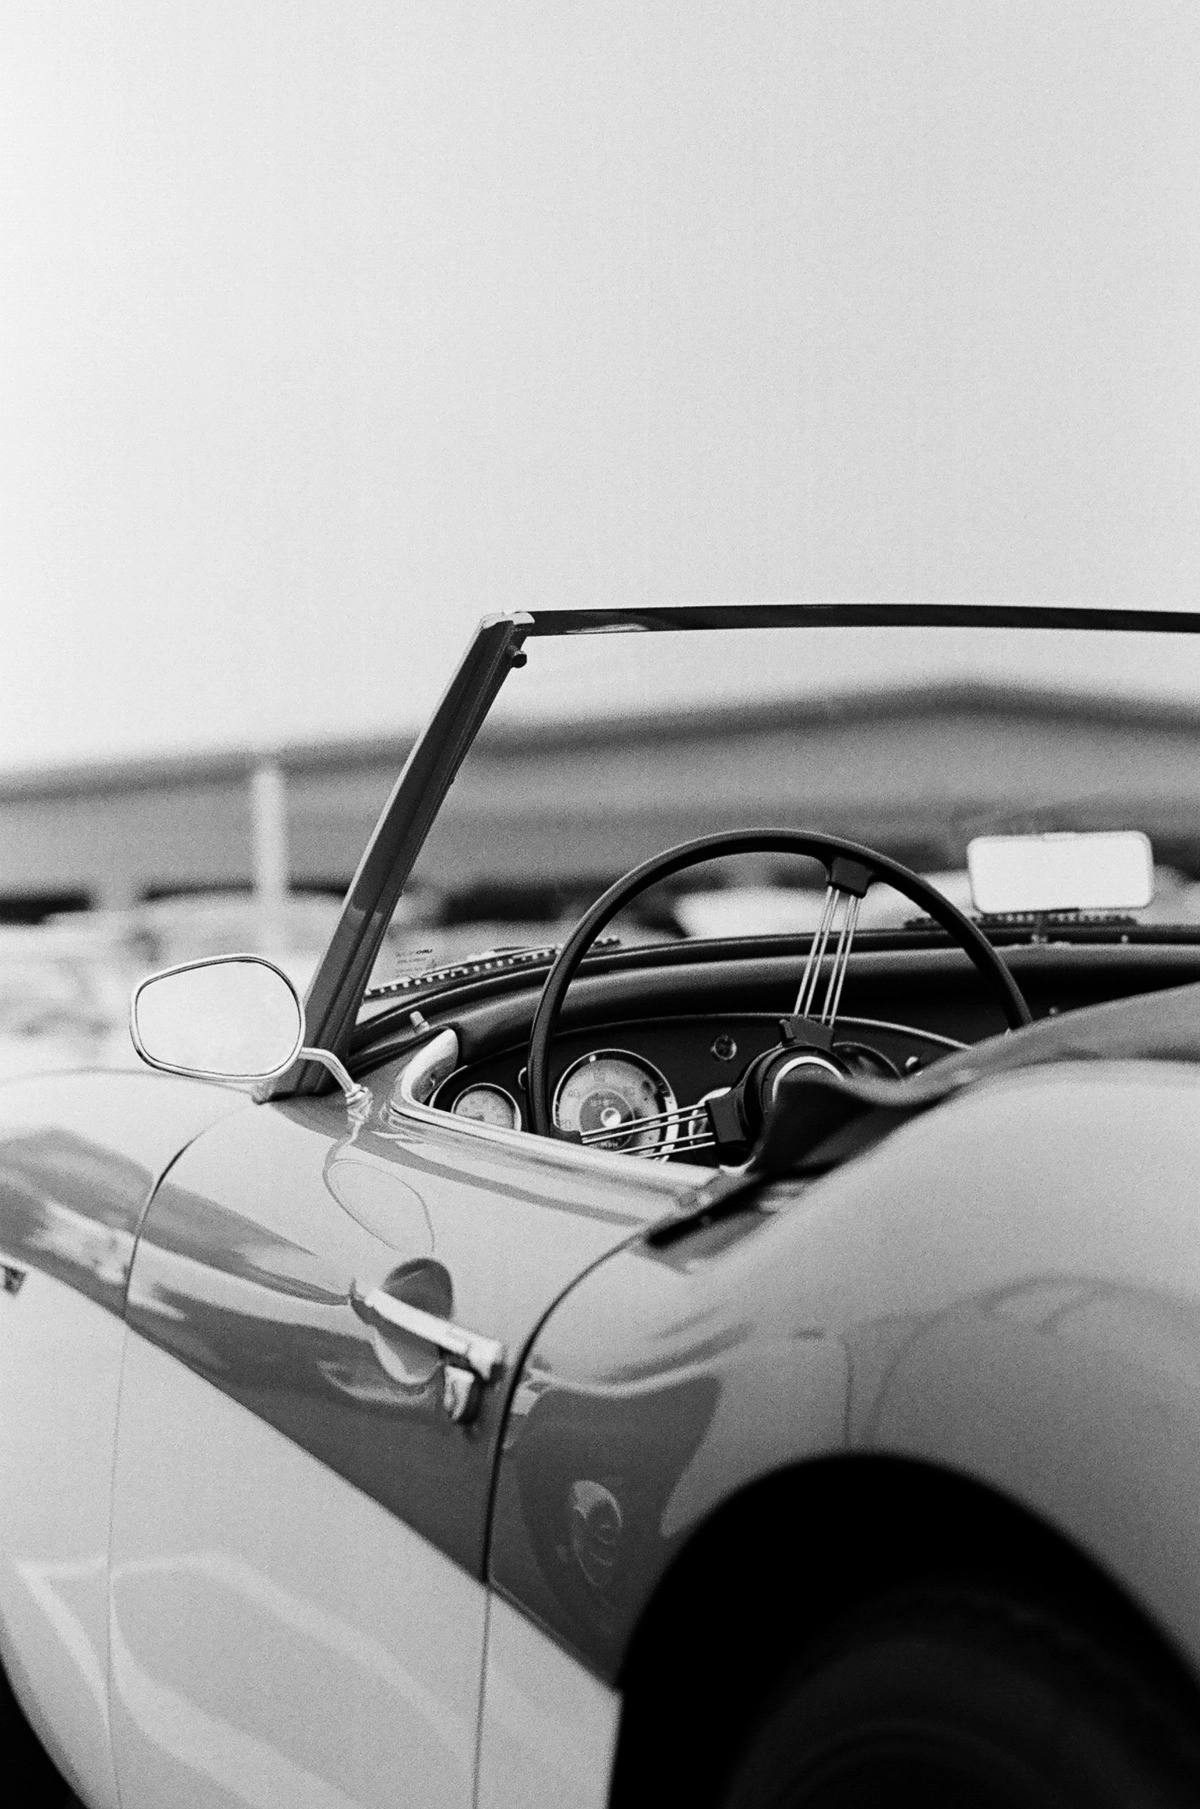
How to restore a classic car (4) the final finish
There are 4 key stages to restoring your classic car’s paintwork - planning your project, preparing the bodywork, priming the bodywork and the final finish. Finally, it’s time to guide you through the final finish - how you can get the bodyshop-quality result you want and what you need to achieve it. If you find yourself at the start of your classic car paintwork restoration journey, then head over to our stage 1- planning your classic car restoration and go from there.
Have these items to hand for a professional looking finish
To achieve a professional looking finish to your car paintwork, have these products to hand:
- Correct car paint colour in the right format (pen, aerosol, paint pot or paint gun)
- Masking tape
- Protective gloves
- Sanding pack
- Panel wipe and degreasing cloth
- Microfibre cloth
- Polish
- Scratch and scuff paste
Finding the correct colour match car paint
Reg lookups often don’t work for classic car colour match paint because the vehicles are too old to be on any online database. Instead, look under the bonnet for the VIN plate where the colour code or name will be stamped.
Keep in mind some classic cars have had numerous paint jobs over the years, so the colour code or name may not match the current car paint colour. To see if your classic car has had a colour change, check:
- Under the bonnet
- Under the wheel arches
- In the door jam
Painting or touching up bodywork? Some tips
Before you go ahead and start the process of the final finish of your car colour match paint, consider the conditions of where you are working.
Carrying out the paint job at room temperature is best to avoid blooming, where the car paint colour becomes distorted and results in a milky finish.
The ideal place to paint is in a clean garage, with the door and windows closed so there is no wind to blow the paint away from the intended area. It’s also dust and pollen-free which would contaminate the colour match car paint.
Achieving the final finish
It’s a good idea to first test the colour of your paint to see if it matches your classic car correctly. Paint an unwanted object, leave it to dry and look at it against the paintwork of your classic car. If you’re happy with the colour, proceed to carrying out your restoration.
1. Inspect the primer surface of your classic car
Give the primer surface a good, thorough inspection. You’re checking that it’s a smooth surface with no contaminants like bugs or dust that have stuck to the surface.
2. Sand the primer surface to remove contaminants (optional)
This step is only required if you found the primer surface to be uneven and there are no contaminants. Gently sand the area using the PaintNuts Wet & Dry Sanding Sheets to remove any minor defects from the primer surface.
3. Remove greasy marks and dust
Using the panel wipe and degreasing cloth, put a bit of the panel wipe onto the degreasing cloth and carefully wipe over the surface of the primer. This step is essential, even if you can’t see any fingerprints or greasy smudges.
Using the panel wipe will remove grease from the surface but not dust. Wipe the surface with a sticky tack rag to remove any dust.
4. Apply the colour match car paint
We recommend applying a minimum of two or three coats of colour match car paint at the minimum. You should use the car paint according to the application guides of the pen, bottle or aerosol.
After applying the first coat, wait for at least 15 minutes for the paint to dry before applying the next coat. Once you have applied the final coat, wait for 24 hours before inspection.
5. Enhance the gloss level (optional)
This step is required only if the colour match car paint has finished with less of a gloss than the original classic car paint. To enhance the gloss level, apply the Scratch & Scuff Paste with a buffing cloth.
What if I’m not happy with the finish?
If you haven’t got the perfect finish, you can redo the top coat to get the result you want. Use a very fine Polishing Preparation Sanding Sheets to lightly take off the sheen of the area you have painted and then repeat from step 4.
How to order your touch-up paint
For classic cars, simply enter your paint code by reg, make, year and key (basic) colour into our search tool and follow the instructions.
Find the right product for you
https://www.paintnuts.co.uk/pages/how-to-restore-a-classic-car-2-preparing-your-bodywork