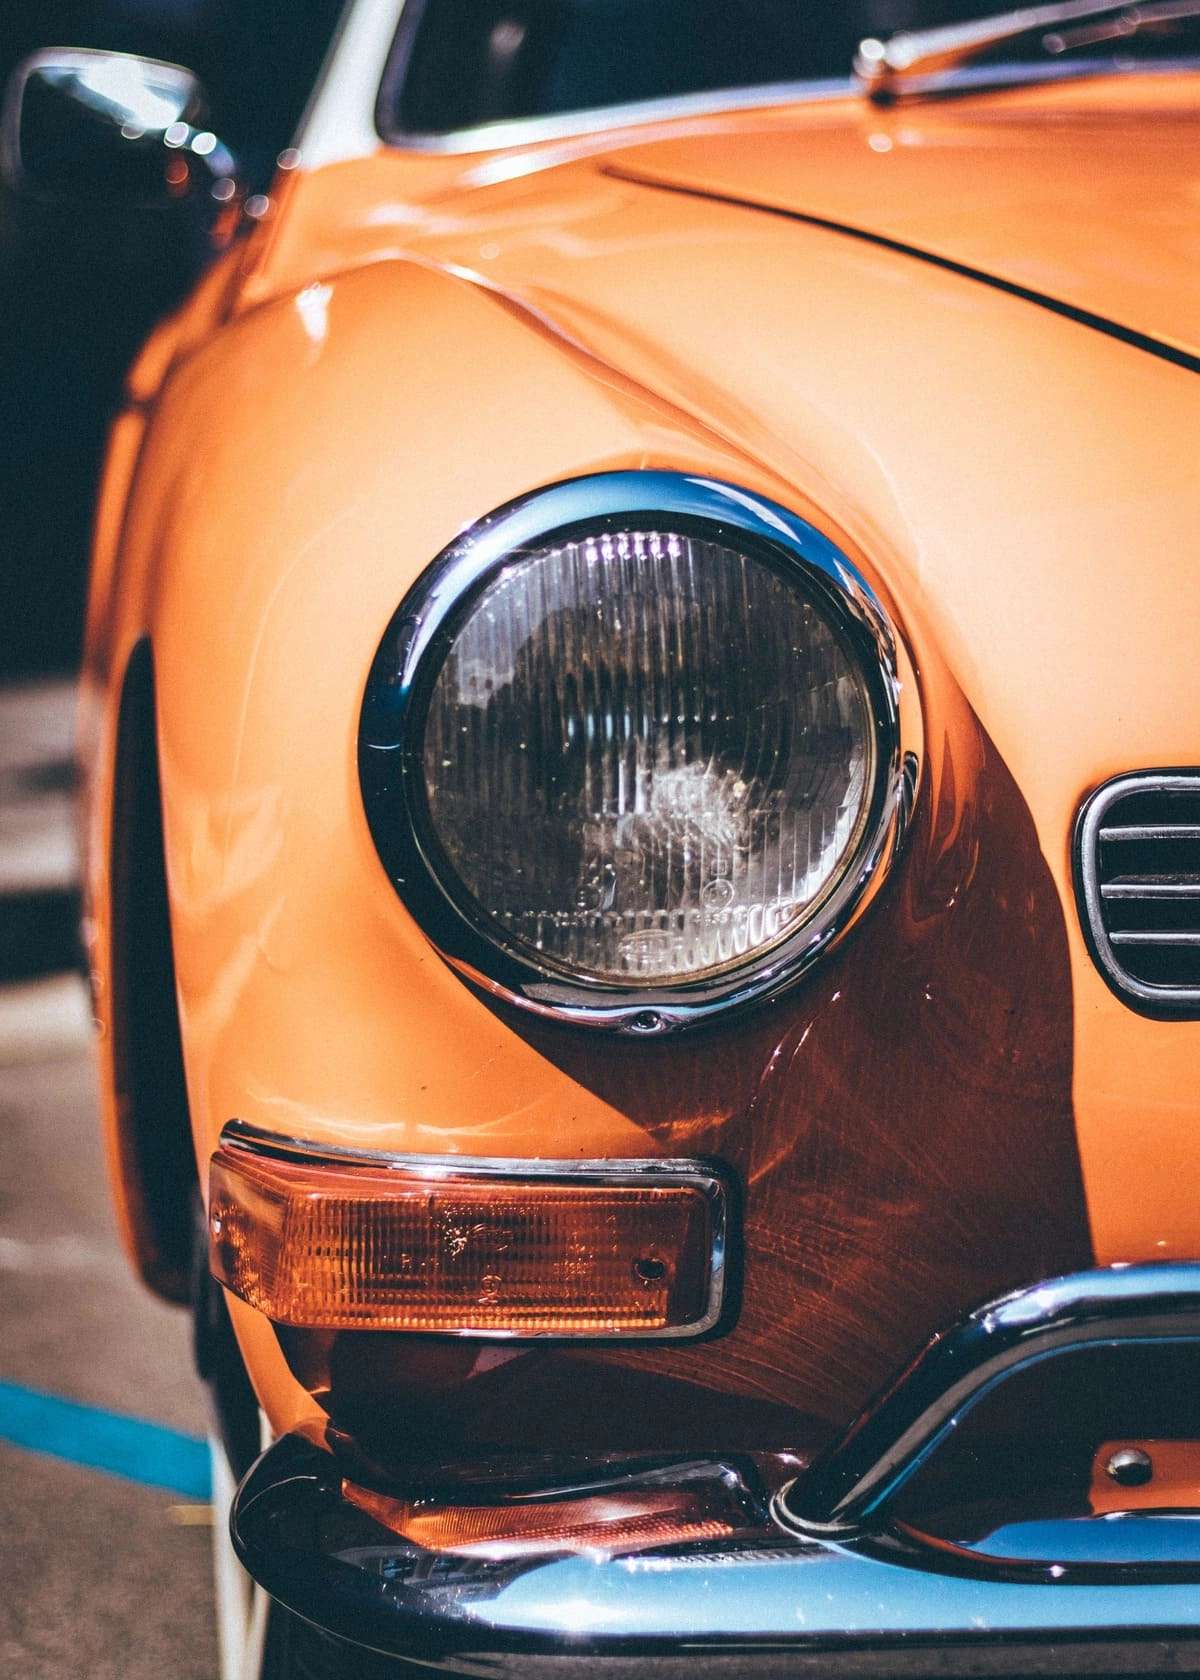
How to restore a classic car (3) priming your bodywork
There are 4 key stages to restoring a classic car’s paintwork - plan, prepare, prime and the final finish. We’re going to dig deeper into these stages and share any tips that will help you complete your project.
It’s time to talk about primer - why you need it and how to apply it like a pro. If you’ve skipped too far ahead and you need to review the other stages, start at stage 1 - planning your classic car restoration, go there first.

Why classic cars need a primer
Primer has an anti-rust agent in it. The great news is that the rust you fixed in the last stage won’t come back!
It also contains a bonding agent that makes the topcoat adhere to it properly. You can get away with not using primer if you’re dotting a few small stone chips, but if you don’t use it on larger areas, your topcoat will eventually peel right off.
How to apply primer
Apply the primer as you’d apply car paint - for an area like this, it’s most likely you’ll need to use a spray can/aerosol rather than a precision pen or bottle and brush.
We recommend you doing this work inside your garage or workshop, because you can control the area - including floating particles that might settle on wet, sticky primer.
- Mask up the area so you don’t overspray - use low tack automotive masking tape, which doesn’t leave a residue. Make sure there’s good lighting, good ventilation and use the appropriate PPE.
- Cover your vehicle and any other vehicles or panels in the vicinity in your workshop so the aerosol mist doesn’t settle on chrome trims, alloy wheels, tyres, finished panels and surfaces, and window glass.
- Apply 2 coats or either white or grey primer (white is for white vehicles; grey can be used but might require more layers of topcoat to get the correct shade). If you can still see the repair, do a 3rd coat.
- Let the primer dry. This happens within 25 minutes - you can apply topcoat in 2 hours. However, we recommend you let it harden fully overnight.
- Before you apply topcoat, inspect your handiwork in good lighting. Are there any specks? Are there any runs? You can sand these out gently using a light grade sandpaper.
What’s next for my project?
Our next article on classic car bodywork restoration is about applying the topcoat(s) of car paint to complete your restoration.
How to order your touch-up paint
For classic cars, simply enter your paint code by reg, make, year and key (basic) colour into our search tool and follow the instructions.


