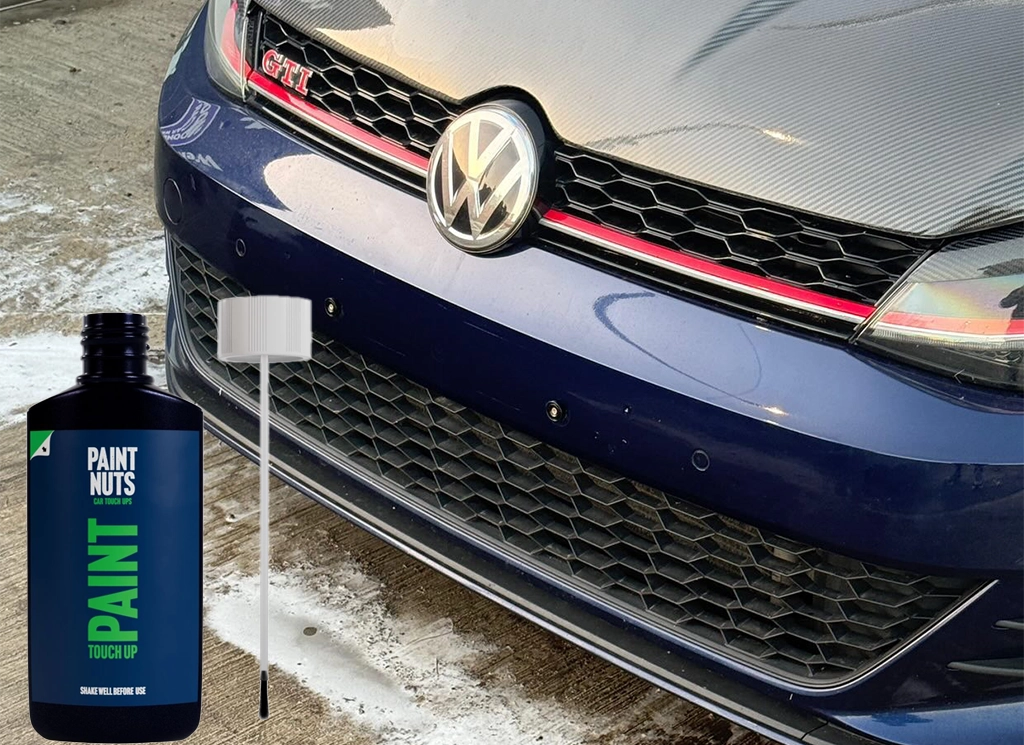
How to use the touch-up bottle
You have the ability to rectify slight paint damage on your car independently, achieving a satisfactory outcome with our bodyshop-grade paint that precisely matches your car's original colour.
The touch-up bottle is particularly useful for addressing scratches and chips that extend over a larger area or demand more paint.
Below is our recommended approach for using and applying car touch-up paint when utilising a touch-up bottle:

Prepare & Clean
When you're prepared to begin the painting process, begin by smoothing the surface with wet and dry sandpaper to reduce any imperfections. We suggest using the Norton Topcoat project pack for optimal results.
The surface must be clean and dry - make sure all wax, polish and grease is removed. For best results use PaintNuts Panel Wipe Spray.
If you have a deep scratch or chip OR if you can see bare metal or plastic, we recommend using PaintNuts Primer first - if rust is present, we suggest our Rust Convertor as well.
Shake & Test
Shake bottle thoroughly for 2-3 minutes to ensure the paint is thoroughly mixed.
Unscrew to access the brush attached to the lid within the paint. Before using the brush, please ensure you remove any excess paint from the stem of the brush, i.e scrape inside of the bottle neck.
Test a small amount of paint within the damaged area to check the colour match – give it 15 minutes to dry as paints can often appear different in colour; inside the bottle, when still wet or if applied incorrectly or onto original undamaged paint work.

Paint & Finish
Using the brush apply thin, light coats in smooth strokes ensuring you only apply the paint within the damaged area.
Leave the paint to dry for 15 minutes before applying a second coat if required. Leave the paint to cure 1 hour before applying lacquer or polishing.
PLEASE NOTE: – cold, damp weather can adversely affect the application, finish, and drying time of paints.


