


Classic car paintwork restoration - (1) planning your project
Welcome to the first in a series of articles and how-tos that focus on the details of restoring a classic car’s paintwork to its original glory.
There are 4 key stages to restoring a classic car’s paintwork - plan, prepare, prime and the final finish. We’re going to dig deeper into these stages and share any tips that will help you complete your project.
Plan your bodywork restoration project in 3 steps
You might use a mobile phone, notebook or a spreadsheet to mark damage on a diagram of your vehicle or list them. However you do it, investing time into planning your classic car restoration project will really pay off, especially if the paintwork has been compromised in multiple areas.
1. Investigate your paintwork
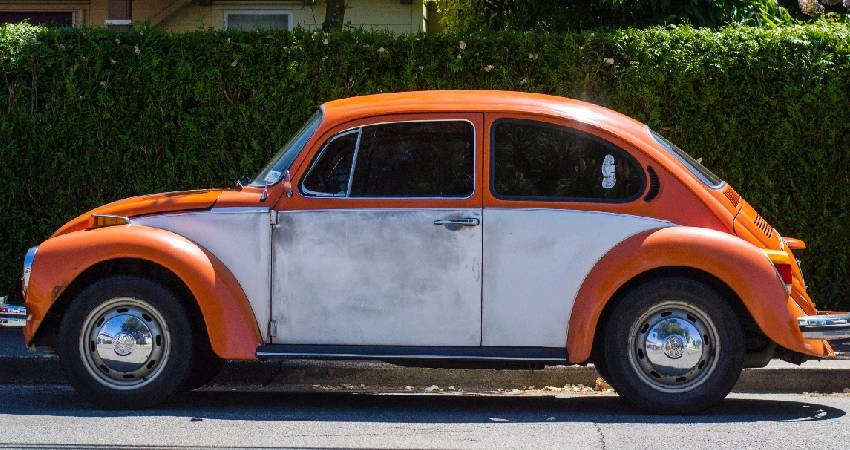
Visual inspection
As well as walking around your vehicle to spot the easy-to-see damage, you’re going to have to get under the vehicle.
Examine your panels in good lighting. Pay special attention to:
- Headlight surroundings
- Windscreen/ rear window seals
- Boot floors
- Sills
- Wheel arches
- Bottoms of doors
- Underbody chassis rails
- Inner wings
- Under bonnet
- Seatbelt anchor points
- Around any other fittings
The lower parts of the vehicle are likely to be harbouring more damage than you think. Never mind scratches, scuffs and dents - the causes of this type of damage are corrosive.
Think: rain, snow, salty roads and mud. The lower parts of your car paintwork are susceptible to damage over time. And they’re normally hidden from view:
Tips
Bubbling or blistering paintwork is very common in classic cars. It’s one of the biggest age-related problems. The surface is bubbling or blistering because rust is forming behind the paint.
Sometimes, the problem has been going unnoticed for so long that the rust has eaten through the metal completely, leaving only a skin of paint - nothing underneath.
With this in mind, there are areas of damage that you need to investigate a bit further in order to see how deep the damage goes.
2. Weigh the evidence against your capabilities
Your visual inspection will have produced a list and a map of the damage you need to fix. You might be able to start prioritising a schedule of works.
On the other hand, if the damage is severe and widespread, you might already have decided to send the car to a bodyshop for a full strip down, repair and respray. We supply larger quantities of original colour matched paint to trade customers too - let your bodyshop know.
However, right here we’re going to focus on minor or simple repairs you can make, which you can finish off with a touch-up pens or aerosols.
Ask yourself:
- How extensive is the damage?
- Is it corroded?
- Does it need welding?
- Do I have the right skills and experience to do this justice?
- Do I have the right tools?
- What materials and components will I need? (For example, sandpaper, fibre glass fillers, primer, rust convertor, paint)
3. Research
It’s time to pull your plan together with a final burst of research. This stage is a good opportunity to polish up on your existing skills, as well as refining your capabilities.
Watch some YouTube tutorials. Read some how-tos and blogs - try our advice and tips section.
Got a specific question? Call our customer service team - we’re notorious petrolheads and a couple of us have specific experience restoring classic cars.
4. Find your classic car paint code or exact colour name
A key part of your prep we need to factor in is to paint to colour match your original car colour. So, while you’re giving your bodywork a visual inspection, look out for your car paint code.
Unlike modern cars, which we’re able to look up with your reg, ordering original colour-matched paint for classic cars requires a paint code.
Bear in mind, with classic paint colours there can be multiple codes for the same colour. For example, they can have a BLMV or BLVC code which can also have an ICI, Glasurit or PPG equivalent code – all which would create the same colour.
If you can’t find it on the vehicle, you might be able to get help from a car club or other specialist website, a dealership, or the manufacturer.
Just let us have your paint code and we’ll make sure you get the right colour of original colour-matched touch-up paint for your classic car.
What’s next for my project?
Our next article on classic car bodywork restoration is about preparing the bodywork, from filling and sanding right through to using a rust converter.
How to order your touch-up paint
For classic cars, simply enter your paint code by reg, make, year and key (basic) colour into our search tool and follow the instructions.