


How to apply rust convertor to oxidised bodywork
Rust is the curse of beloved retro and classic cars everywhere. It can start as a small, almost insignificant spot but it can turn into a major issue if it’s not tackled quickly.
Keeping on top of minor paintwork repairs - for example, using a car paint touch up pen on scratches, scuffs and chips as they appear - helps. But sometimes, you have to bring the big guns in.
A rust converter is alchemy in action. It transforms a rusty surface into a sound, paintable surface in just quarter of an hour. Here’s how to use it.
First, know your rust
There are three categories of rust (oxidised iron-based metal), which progress in severity.
- Surface rust is minor - often caused by stone chips, scuffs and scratches - and relatively easy to tackle. If it’s left though, it will spread.
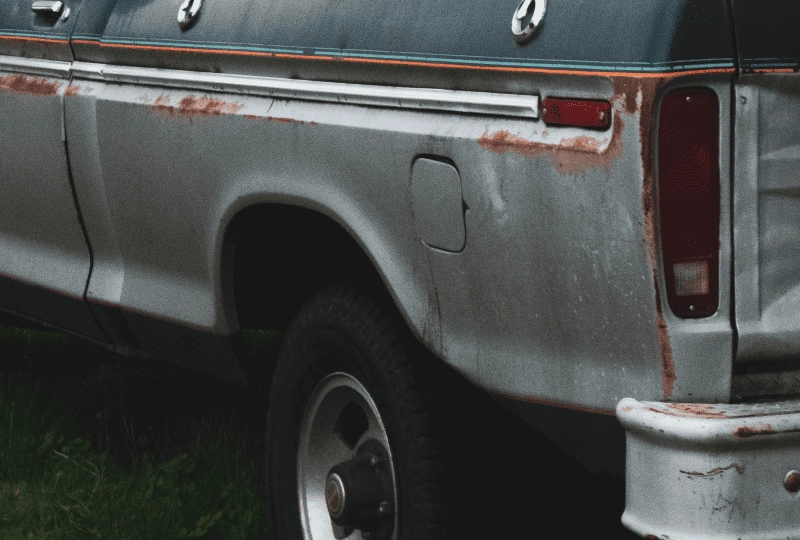
- Scale rust is where the oxidisation has begun to corrode the metal. Salt - including in the grit the council spreads on roads in winter - can speed up the problem.
- Penetrating rust is corrosion so serious that you’ll need replacement panels to keep your car roadworthy. A rust converter is very effective - but, in this case it won’t be able to save your bodywork.
What does a rust converter do?
Rust converter is a liquid, like a paint. It has been formulated to turn a rusty surface into a sound, rust-free surface.
- Minimal surface preparation beforehand
- Simply paint on and let it dry
- Converts rust to a sound surface in just 15 minutes
- Ideal for small patches of rust
- No need to rinse off
- Repaintable after 3 hours - no primer required
Safety
Like any paint or preparation, rust converter contains chemicals. It’s not classified as dangerous under Directive 1999/45/EC. However, we do recommend the usual common sense precautions:
- Protective (chemical resistant) gloves to Standard EN 374
- Wash hands after use
- Good ventilation
- Safety glasses
How to apply rust converter
Tools
- PaintNuts Rust Converter
- Thinners/water
- Paintbrush
- Plastic container
- Safety glasses and gloves
Process
- Remove loose detritus with sandpaper - paint, rust, dirt, grease and salt.
- Clean the surface with water (or brush cleaner & thinners) and let it dry.
- Shake the rust converter bottle well and pour the required amount into a plastic container.
- Using a brush, apply directly to the rusty area, working it well into heavily pitted areas, corners and edges. Avoid painting the rust converter onto painted areas.
- PaintNuts Rust Converter starts working as it reacts with rust. If there’s no noticeable effect within an hour, reapply as needed.
- Discard the unused rust converter in your plastic container and wash out the container with water.
Ready to paint
After only 3 hours, you’re ready to apply paint over the rust converter. You can use either a precision touch-up pen, brush and bottle, or car paint aerosol. Be sure to read our full list of how to use touch-up car paints before you start.
To order the exact original Car touch up paint, enter your registration details or paint code and select your preferred product. Don’t forget to add lacquer - and PaintNuts Rust Converter to your basket!